This post is an effort by me to solve a lot of the queries I encountered myself as a fresher coming to IIT-G.
You will find that most of your doubts will be solved if you go through it carefully.
I will be updating this blog with further details as more questions arise.
If you have any further queries you can comment below or ask them in the following group (Fresher's Forum IITG).
Important Dates:
1. Registration of New BTech/BDes Students: July 23, 2015, Thursday
2. Orientation for New BTech/BDes Students: July 24, 2015, Friday
3. First Day of Instruction: July 28, 2015, Tuesday
2. Orientation for New BTech/BDes Students: July 24, 2015, Friday
3. First Day of Instruction: July 28, 2015, Tuesday
Hostel allotment will be announced in the Institute’s website http://www.iitg.ac.in/ on July 22, 2015.
Students can also get the hostel allotment details at the entry gate of the Institute.
Students can also get the hostel allotment details at the entry gate of the Institute.
All students are requested to bring their own bedding and report at the respective hostels by July 22, 2015 evening.
Link to the academic calendar: Click here.
Documents needed:
- One copy of Provisional Seat Allocation letter [to be downloaded from the JoSAA portal].
- Original receipt of proof of payment for seat acceptance fee of Rs.45,000 (for GEN, OBC-NCL and Foreign) OR Rs.20,000 (for SC, ST, GEN-PwD, OBC-NCL-PwD, SC-PwD, ST-PwD) in State Bank of India using E-Challan [to be downloaded from the JoSAA portal].
- Filled-up Undertaking by the candidate [as per Annexure 9 given in JoSAA website].
- Duly certified original medical report [as per Annexure 8 given in JoSAA website].
- Two Passport size photographs of the candidate.
- Original and one photocopy of Admit Card of JEE (Advanced) 2015.
- Original and one attested photocopy of Birth certificate or equivalent original certificate as proof of date of birth.
- Original and one attested photocopy of Certificate as proof of Name [to tally with the entry in JoSAA database] (example: Marksheet or Certificate of Xth Exam).
- Original and one attested photocopy of Category (SC / ST) certificate, if applicable, in the format given in JoSAA website (Issued by competent authority).
- Original and one attested photocopy of Certificate of category of OBC-NCL (central list of NCBC), if applicable, is to be issued by the competent authority in the prescribed format given in JoSAA website and should clearly mention that the candidate belongs to Non Creamy Layer. The certificate should have been issued after 1st June, 2014.
- Original and one attested photocopy of valid Disability certificate (if applicable) for PwD candidates.
- Original and one photocopy of valid Nationality certificate/document/passport (if applicable) for candidates with nationality as Foreign, OCI and PIO card holders.
- Original and one photocopy of valid Class XII marks sheet.
- Along with above original certificates, candidates are advised to bring the following,a. Printout of locked choices and terms and conditions taken from the JoSAA website and duly signed by the candidate.b. One set of self-attested copies of all the documents listed above. The originals will be returned after verification and self-attested copies will be retained by the Reporting Centre.
The above are the minimum required documents as prescribed by JoSAA. I also suggest carrying more than just a couple of photographs as they will be needed, a lot. Also keep a digital copy of the same along with that of your signature handy. It will help you later.
What you will get in Hostel Room:
A good thing that differentiates IIT-G from other IITs is students get single rooms right from the beginning(except girls which are twin sharing for the first year). They come along with the following things-
1. Bed
2. Table
3. Chair
4. Almirah
5. Book Shelf
6. Ceiling Fan
7. A Lan-port
7. A Lan-port
You will be assigned your hostels before coming to IITG. (I will update this post with a link to the same as and when it gets released.).
The rooms however will be assigned to you when you reach IITG itself.
Hostels:
There are a total of 11 hostels for U.G. students ( Manas, Dihing, Kapili, Dibang, Siang, Kameng, Umiam, Barak, Lohit for U.G. boys and Dhansari and Subansari for U.G. girls)
All the hostels have a Canteen (Open generally from 9:30 am to 2:30 am) , a juice center and a stationary shop.
You can get most eatables at the canteen (Biscuits, chips, chocolates).
The canteen also serves typical fast food items like chowmein, pav bhaji, burgers etc.
The juice center has various soft-drinks/milk products/soups available.
The above two will mostly be able to satisfy your daily food needs apart from mess.
The stationary shop carries general daily use items like deos, soaps, buckets etc. apart from the stationary items. It is more of a convenience store.
You can also get your xerox/print outs done at the stationary shop.
Apart from that each hostel has multiple lobbies ( a group of 7-8 rooms) and each lobby has a common bathroom which is adequate and fitted with a 24 hr working geyser.
You will also find wash-rooms equipped with washing machines ( Yes, students generally wash their own clothes). There are however alternatives available and you can find a laundry guy.
There is also a T.V. room in each hostel as well as a reading room/library and a sports room which has T.T. and carrom boards.
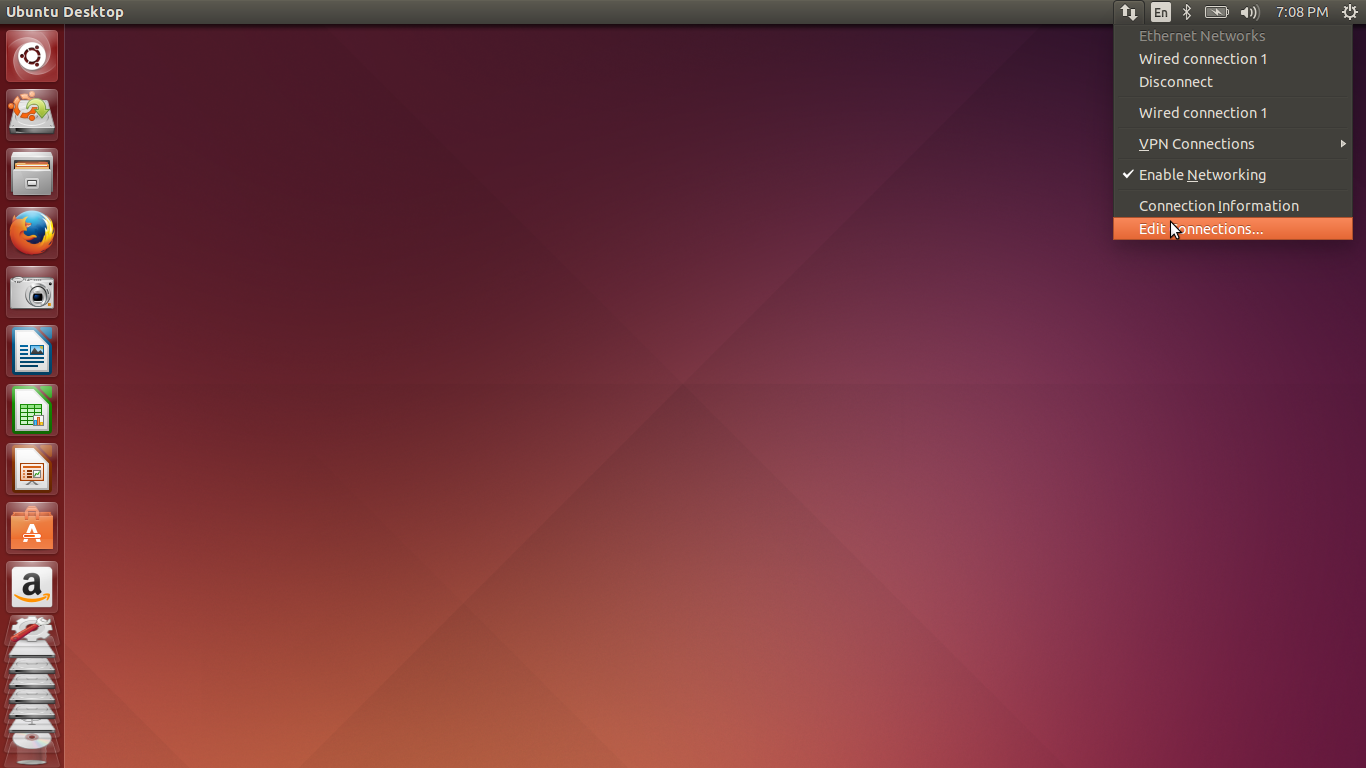
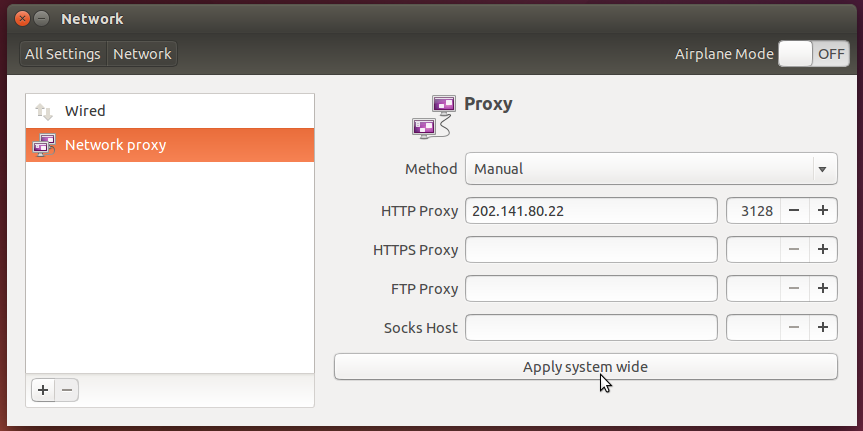
Wi-Fi is available in some hostels, though not all. The academic block however has full Wi-Fi coverage.
What you will need in here:
1. Mattress
2. Quilt
3. Pillow
4. Scientific Calculator [Casio fx-991ES, preferable]
5. Umbrella
6. Rain Coat
7. Bi-cycle
8. Buckets
9. Home-made food stuffs (Believe me you'll miss them the most)
9. Home-made food stuffs (Believe me you'll miss them the most)
10. Sports items (in case, such as swimming costume,racquets etc.)
11. Personal medication(if you have any problems like asthma)
12. Extension box
A temporary and adequate market is setup at a community hall near the boy's hostel every year at the starting of the odd semester, where you can find all the useful things of day to day life. The market is usually functional for a week.
You can buy bicycles, mattresses, pillows, buckets, stationary items, sim cards and other general daily use items from the market or the stationary shops in each hostel. Availability of the same is no issue so don't worry about them. No need to bring these items from your home.
For a more comprehensive list you can check this amazing guide.
Reaching the campus:
Getting to Guwahati
Guwahati is well connected to India with rail and air travel. There are trains from all over the country to reach Guwahati (visit the Indian Railways official site http://www.indianrail.gov.in/ for complete information). There are direct flights from all major cities offered by Indian Airlines, Indigo, Spice, GoAir and Jet Airways. Connecting flights via Kolkata are also available.
Coming a few days before the date of registration will help you settle down in your hostel rooms and meet a few people. Also you will need to buy things and you can also pay a visit to the city if you want to.
Sometimes there are train/plane delays due to rains, so just as a precaution it will be better if you arrive a couple of days before hand, because as of now there is no provision for late admission for new students.
Reaching the Campus:
From the airport a pre-paid taxi is the best way to reach IITG. Fares have to be negotiated and the ongoing rate is around Rs.500-600/- .
From the railway station, as soon as you step out, look for our students carrying ‘IITG’ placards, or their identification cards on the platform. In case you miss them, go to the parking area of the railway station and look for buses with “ON IITG DUTY” written on the bottom corner of their windshield.
If you cannot locate any of the above, you have other options too. You can take an auto or a taxi from the station itself. The fare may be around Rs.350/- for an auto and Rs.450 to Rs.500 fora taxi. Ask to be dropped off at the hostel gate. Another option is to catch a rickshaw at Pan Bazaar. Also, opposite to the Don Bosco School are IIT buses parked that depart for the campus every hour. Parents are advised to book their return tickets in advance at least 2-3 days after registration.
Bus timings (Note- Additional Buses may ply during the registration for convenience. The timings regarding the same will be updated in case it happens.)
Bus timings (Note- Additional Buses may ply during the registration for convenience. The timings regarding the same will be updated in case it happens.)
Upon reaching the Campus:
Link to the Campus map - Click here. (You can obtain the printout of the same at your hostel's respective security desks.)
All the students will have hostels allotted to them by the time they reach the campus. Your first job will be to locate the hostel you have been allotted. This inquiry can be done at the railway station/ airport from the students of IITG or from the help desks setup near the various entry-gates.
All the students will have hostels allotted to them by the time they reach the campus. Your first job will be to locate the hostel you have been allotted. This inquiry can be done at the railway station/ airport from the students of IITG or from the help desks setup near the various entry-gates.
For the parents, accommodation can be booked in the institute guest house by mailing an application to guesthouse@iitg.ernet.in specifying the duration of stay, number of people visiting and the reason for visit.
Since the number of rooms in the Guest House is limited (they have a first-come first-serve policy) you will be at an advantage if you book your rooms as soon as possible. I suggest mailing them immediately. The response confirming your booking should come within 1-2 weeks.
There are hotels available in the city too, in case accommodation is not available at the Institute guest house. Here's a list of some hotels in the Guwahati city - Click here.
After Locating Your Hostel:
After locating your hostel, you will meet your care-taker/warden.You will be allocated your room and given info on the basic structure of the hostel. ( Canteen, mess, stationary shop, juice center etc.)
I will make a post detailing the same later.
For freshers the rooms are allocated on the ground floors and they are grouped separately from the seniors just so that they are comfortable. ( I can speak from personal experience that you need not fear interacting with your seniors at all. All of them are very friendly and helpful and IIT-G has a very strict anti-ragging policy)
You will also be asked to fill out a few forms which will help you procure your local sim-card/ open your bank account. ( A local bank account in one of the 2 banks inside (Canara or SBI) is needed for fees and other college related transactions and is mandatory.)
If you arrive a couple of days early, before the registration, I suggest buying the items mentioned in the above list and getting a sim-card and opening the bank-account and exploring the campus.
The registration usually takes place in one of the lecture halls, so familiarize yourself with the campus so that finding places is hassle free.
All of the above are simply tips from personal experience and they will smooth-en the transition and it won't feel hectic to you or your parents.
After the registration, there is a general orientation the next day, at the Institute Auditorium where you will be introduced to IIT-G as a student.
There will also be a departmental orientation where-in you will be introduced to the departement professors and your future opportunities in the same. They will also inform you about the various courses you will be taking in your first semester.
For further details on your Course and Syllabi you can check the following link.
For more info check this.
For more info check this.


