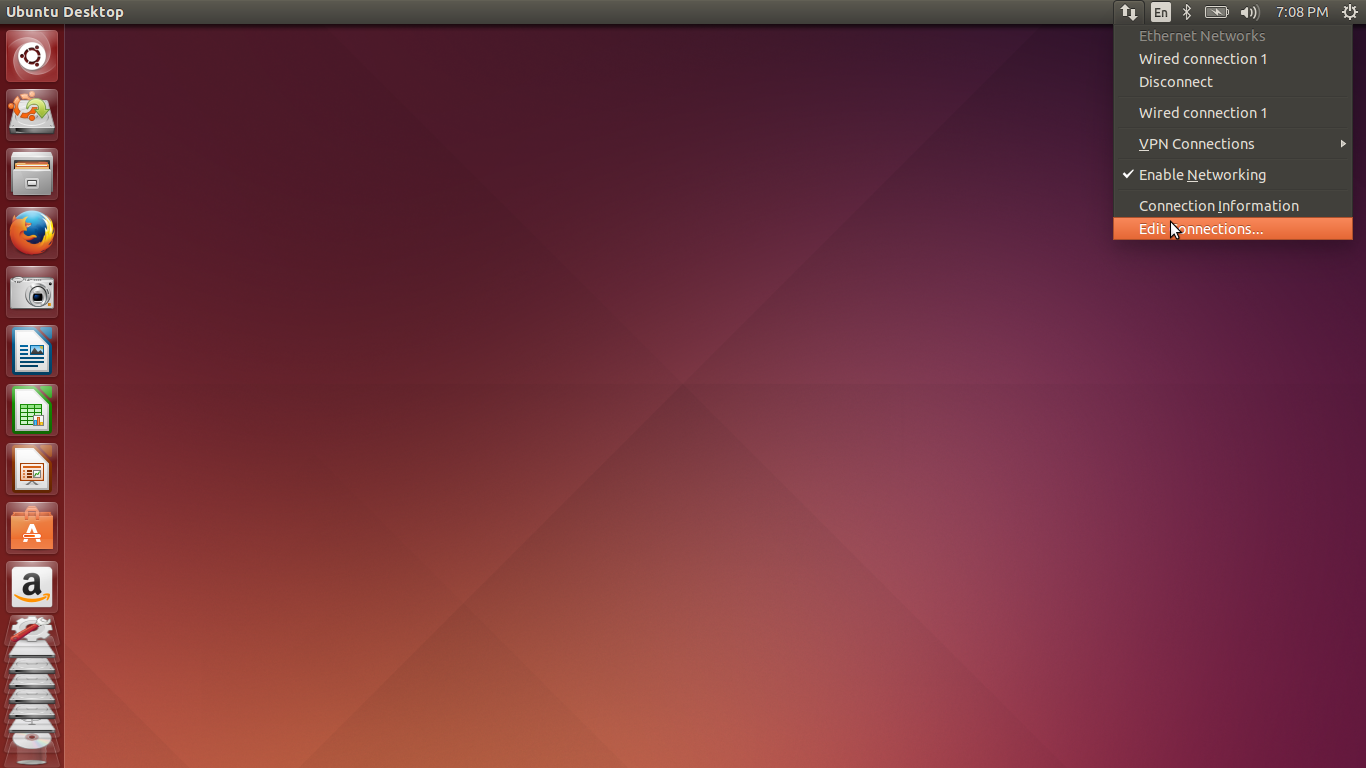
1. Go to Connection Icon on your Taskbar and select 'Edit Connections'.
2. Select 'Wired Connection 1' and click 'Edit'.

3. Goto IPv4 Settings , Select the method as Manual and add your IP settings accordingly and save it.

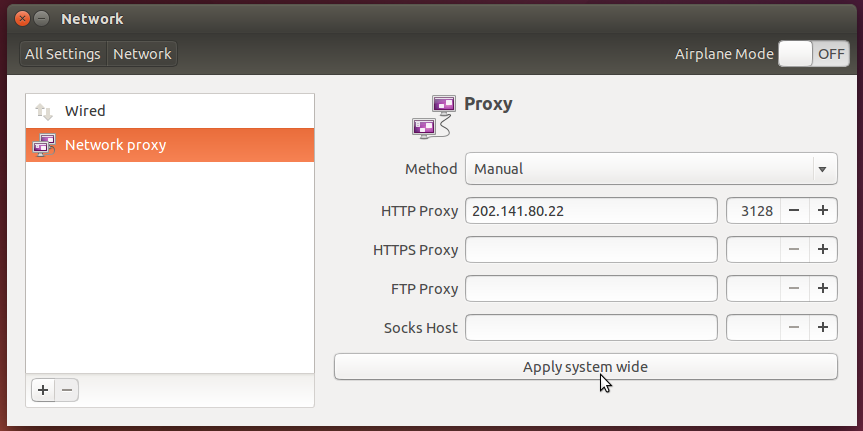
4. Press the 'Windows' key on your keyboard and type 'Network' in the search box that comes up.
Click on it and go to 'Network Proxy'. Set the Proxy settings accordingly and click on 'Apply System wide'.
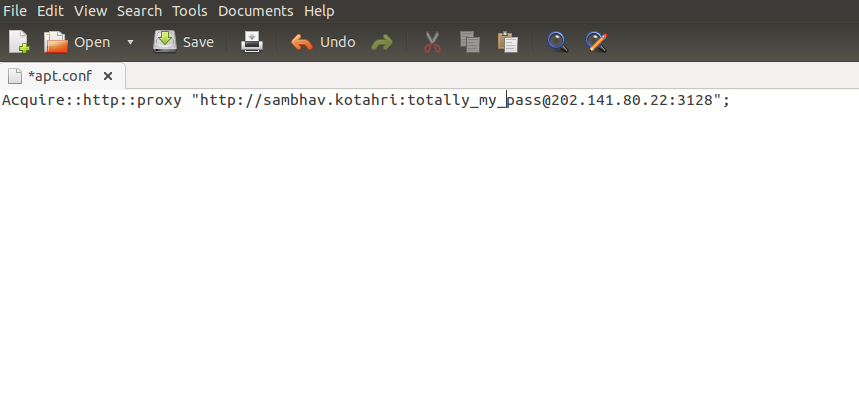
5. If you want apt-get commands (Used mainly for installing and updating softwares) to work, do the following.
Open Terminal and write the commands given below. It will ask for your password in case you have one.

6. In the windows that opens , edit the lines to the following -
(Acquire::http::proxy "http://proxy_username:password@202.141.80.22:3128/")
2. Select 'Wired Connection 1' and click 'Edit'.
3. Goto IPv4 Settings , Select the method as Manual and add your IP settings accordingly and save it.
Click on it and go to 'Network Proxy'. Set the Proxy settings accordingly and click on 'Apply System wide'.
5. If you want apt-get commands (Used mainly for installing and updating softwares) to work, do the following.
Open Terminal and write the commands given below. It will ask for your password in case you have one.
6. In the windows that opens , edit the lines to the following -
(Acquire::http::proxy "http://proxy_username:password@202.141.80.22:3128/")
7. DONE!! your apt-get commands should work now and you should be able to install softwares using it.


